How to Stake - Ethereum
This staking guide will outline everything you need to know about staking your FNC tokens.
How to Stake your FNC Tokens
Step 1 — Enter the Birdnest Staking Pool
Start here: https://staking.fancybirds.io/
The first step to stake your FNC tokens, is to access the staking pool.
Here, you can access the staking dashboard, which will provide you with some basic information and statistics on your staked FNC and rewards.
Step 2 — Connect your Wallet
Next, you will need to connect your wallet, by clicking on the ‘connect’ button on the upper right-hand corner.
You can select from a number of different wallet providers, including Metamask, Coinbase Wallet, and other Web3 wallets through WalletConnect.
Step 3 — Pick your Preferred Pool
After successfully connecting your wallet, you are now ready to start staking your FNC!
You can choose to stake your FNC tokens or provide liquidity via DEX to receive FNC/ETH LP tokens.

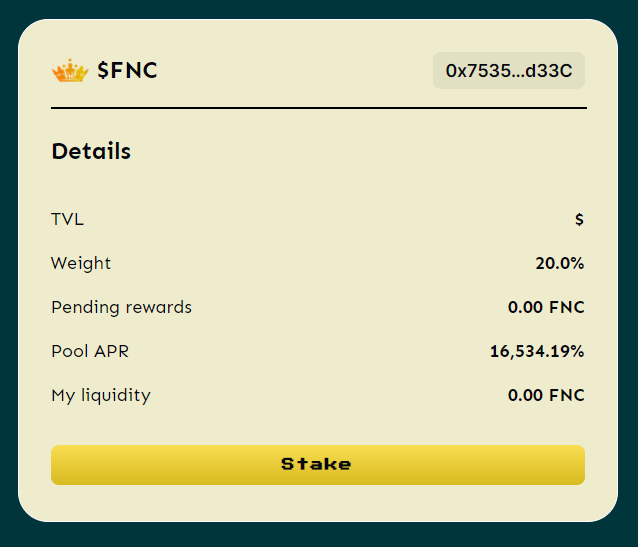
You will need to select your desired staking pool from the list of available pools as shown above. You can view the details of each staking pool, by clicking on the ‘details’ button next to the listed staking pool.

Once again, its important to note that 20% of total staking rewards will be given to FNC single stakers, and FNC/ETH will receive 80% of rewards.
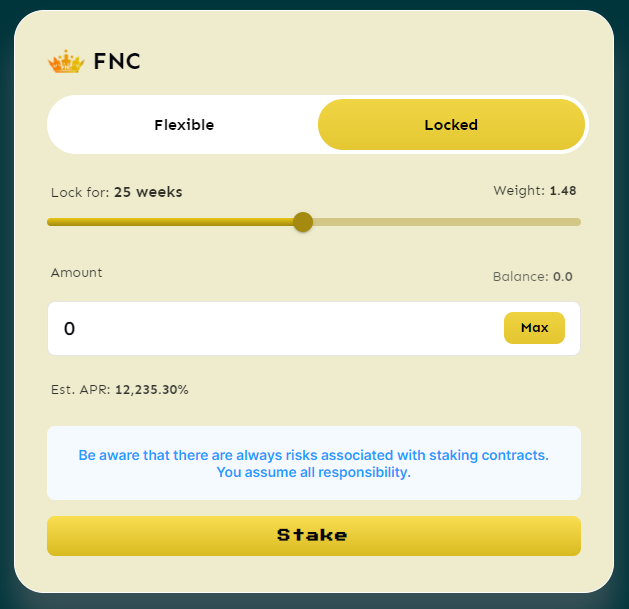
Once you have chosen your preferred pool, you can click ‘stake’, and proceed to choose your desired settings.
Step 4 — Pick your Settings
When picking your settings, you can choose from either flexible or locked staking. The longer duration you lock-in your stake, the greater your rewards.

Step 5 — Approve
After you have selected your settings, you can press the ‘approve’ button.
You will then get a prompt from your wallet asking you to confirm the transaction. You will get a chance to review the details of the transaction and the associated gas fees before confirming.
Once confirmed on your end, you will then need to wait for the transaction to be confirmed on the Ethereum network.
Step 6 — Staking
After the transaction is approved, you will next need to make a second transaction to stake your FNC tokens. You will see a ‘stake’ button appear in place ‘approve’.
Once again, you will need to approve the transaction in your wallet, similar to Step 5.
Once the transaction is confirmed, you will see a ‘Transaction confirmed’ pop-up notification.
Step 7 — That’s it!
Once you the transaction is confirmed, you’re all set! Your FNC tokens will now be officially staked on the Birdnest, and you can start collecting rewards.
How to Claim Your FNC Rewards

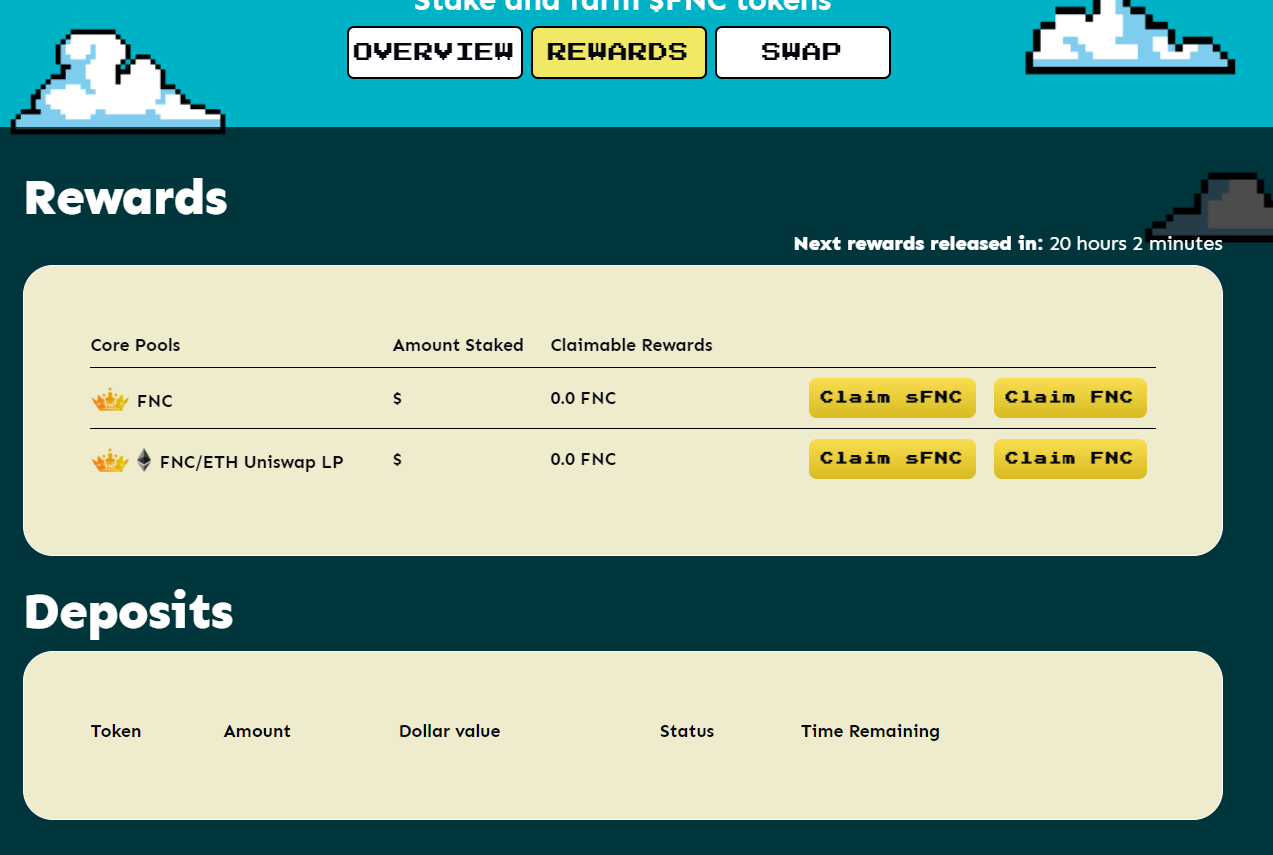
To claim your rewards, you can navigate to the ‘Rewards’ tab, and press the ‘claim’ any pool that has a positive balance in the ‘Claimable Rewards’ column.
Upon pressing ‘claim’, your wallet will prompt you to confirm the transaction
Last updated