FNC Bridge Tutorial
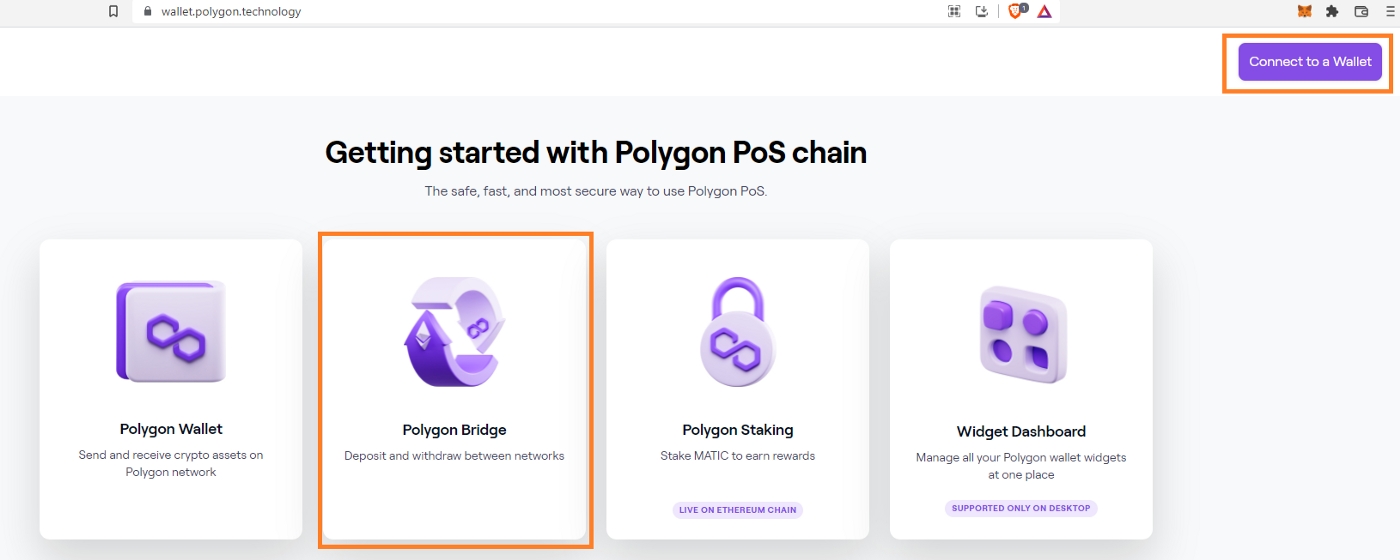
Access the Polygon Wallet, Click the Polygon Bridge through their official link and connect wallet to a Mainnet address with an FNC balance:
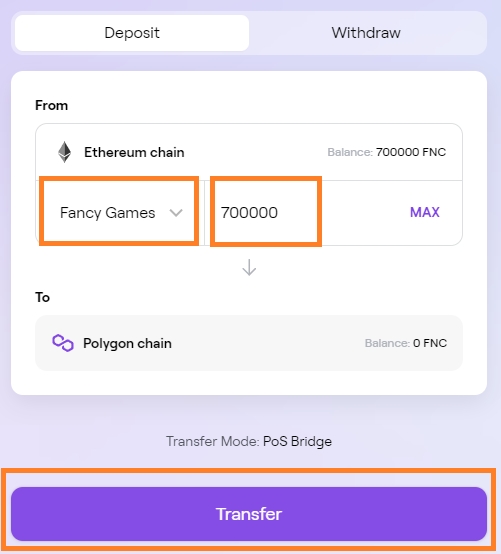
Select Fancy Games from the Drop Down, and enter the amount you wish to transfer over to Polygon. Then click Transfer
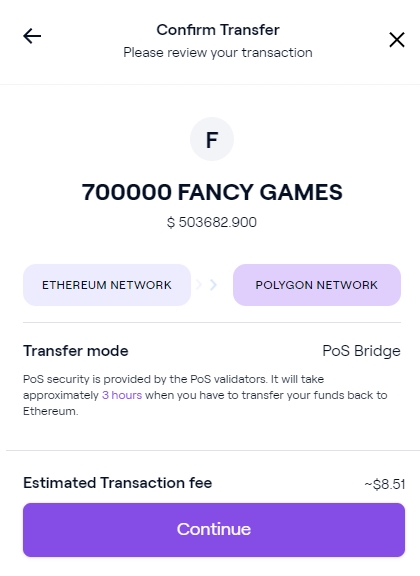
Confirm the transfer and accept transaction costs. Then click Continue
Confirm the transaction in wallet to approve FNC
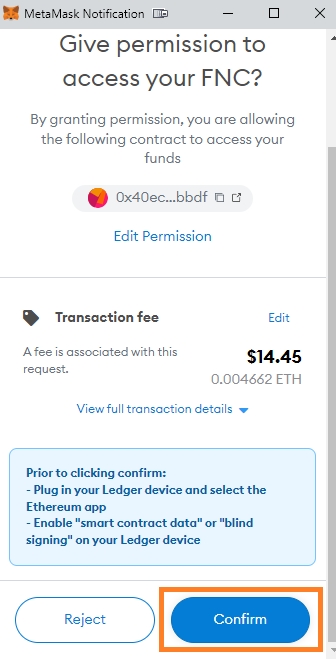
Continue and Confirm one more step to initiate the transfer
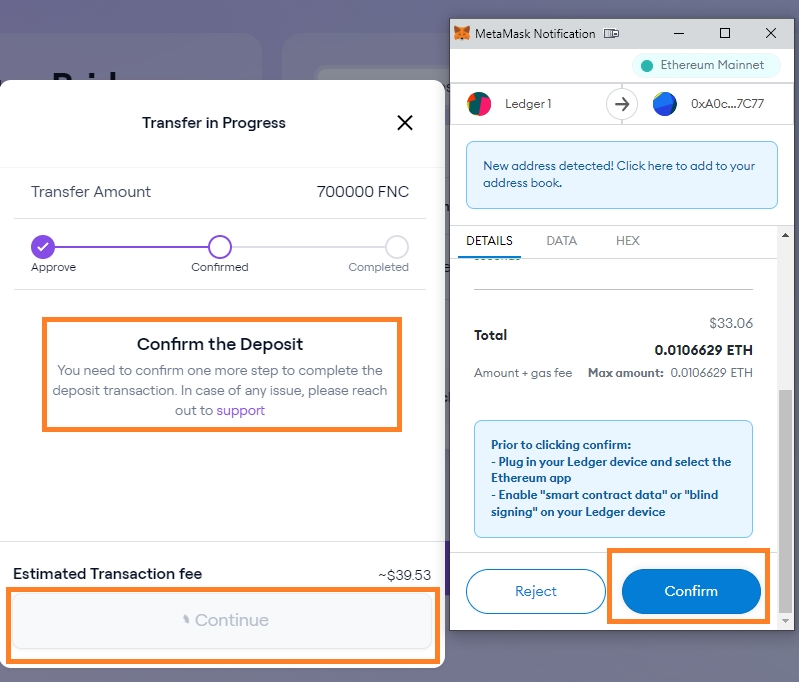
Wait for the Transaction to go through!
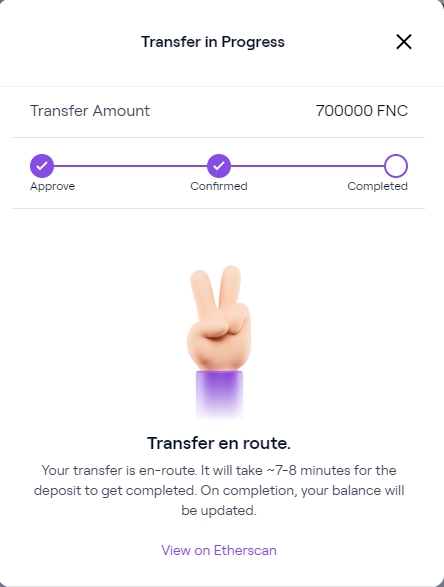


After completed you will be able to see FNC transferred over to Polygon through PolygonScan
FNC Liquidity has been added to QuickSwap Exchange on Polygon
FNC Address on Polygon: https://polygonscan.com/token/0x7f280daC515121DcdA3EaC69eB4C13a52392CACE
^Exact same address as on Etherscan
QuickSwap Link for the Pair:
https://info.quickswap.exchange/#/pair/0x0f9be04e1baf68395ddd2e22c5ca9401b19074f7
*Note: The main staking rewards and governance for FNC will continue to remain on Ethereum Mainnet.
sFNC (Synthetic FNC) claiming has been enabled on Mainnet staking


The sFNC claim button has now been enabled on the staking page under the rewards tab.
After clicking “Claim sFNC”, the sFNC is sent directly into the users Polygon address. The transactions for claiming sFNC usually will take roughly up to 5 minutes.
Official Synthetic FNC (sFNC) contract address: https://polygonscan.com/address/0x8f06208951e202d30769f50faec22aeec7621be2
Last updated